Sharing Jupyter Notebooks using GitHub
Overview
Teaching: 10 min
Exercises: 15 minQuestions
How can I share my work outside of publishing in a traditional journal?
How can I use GitHub for sharing Jupyter notebooks online?
Objectives
Create a repository on GitHub to share your Jupyter Notebook online.
Describe the features GitHub provides that enhance its utility for online sharing.
Describe GitHub’s limitations for sharing Jupyter Notebooks.
Sharing using GitHub
In this lesson we will learn:
- How to create a GitHub account and add an initial project repository. A repository is a central location where source code and data is stored and managed
- How to add a file to the repository using GitHub’s web interface
- How to visually confirm that files have been added to the repository and preview files using the GitHub interface
- The concepts of creating a public repository for the purpose of sharing your research data
GitHub
GitHub is a development platform where we “can host and review code, manage projects, and build software.” GitHub hosts source code for 75+ million projects including the pandas package we have been using among many others.
1. Go to the GitHub Homepage
To use GitHub one needs to register for a (free) account. To register for a GitHub account we need to:
- Open a web browser
- Navigate to github.com
We should see the the web page below.
Note: If you already have a GitHub account you do NOT need to create a new one. Please skip down to step 3.
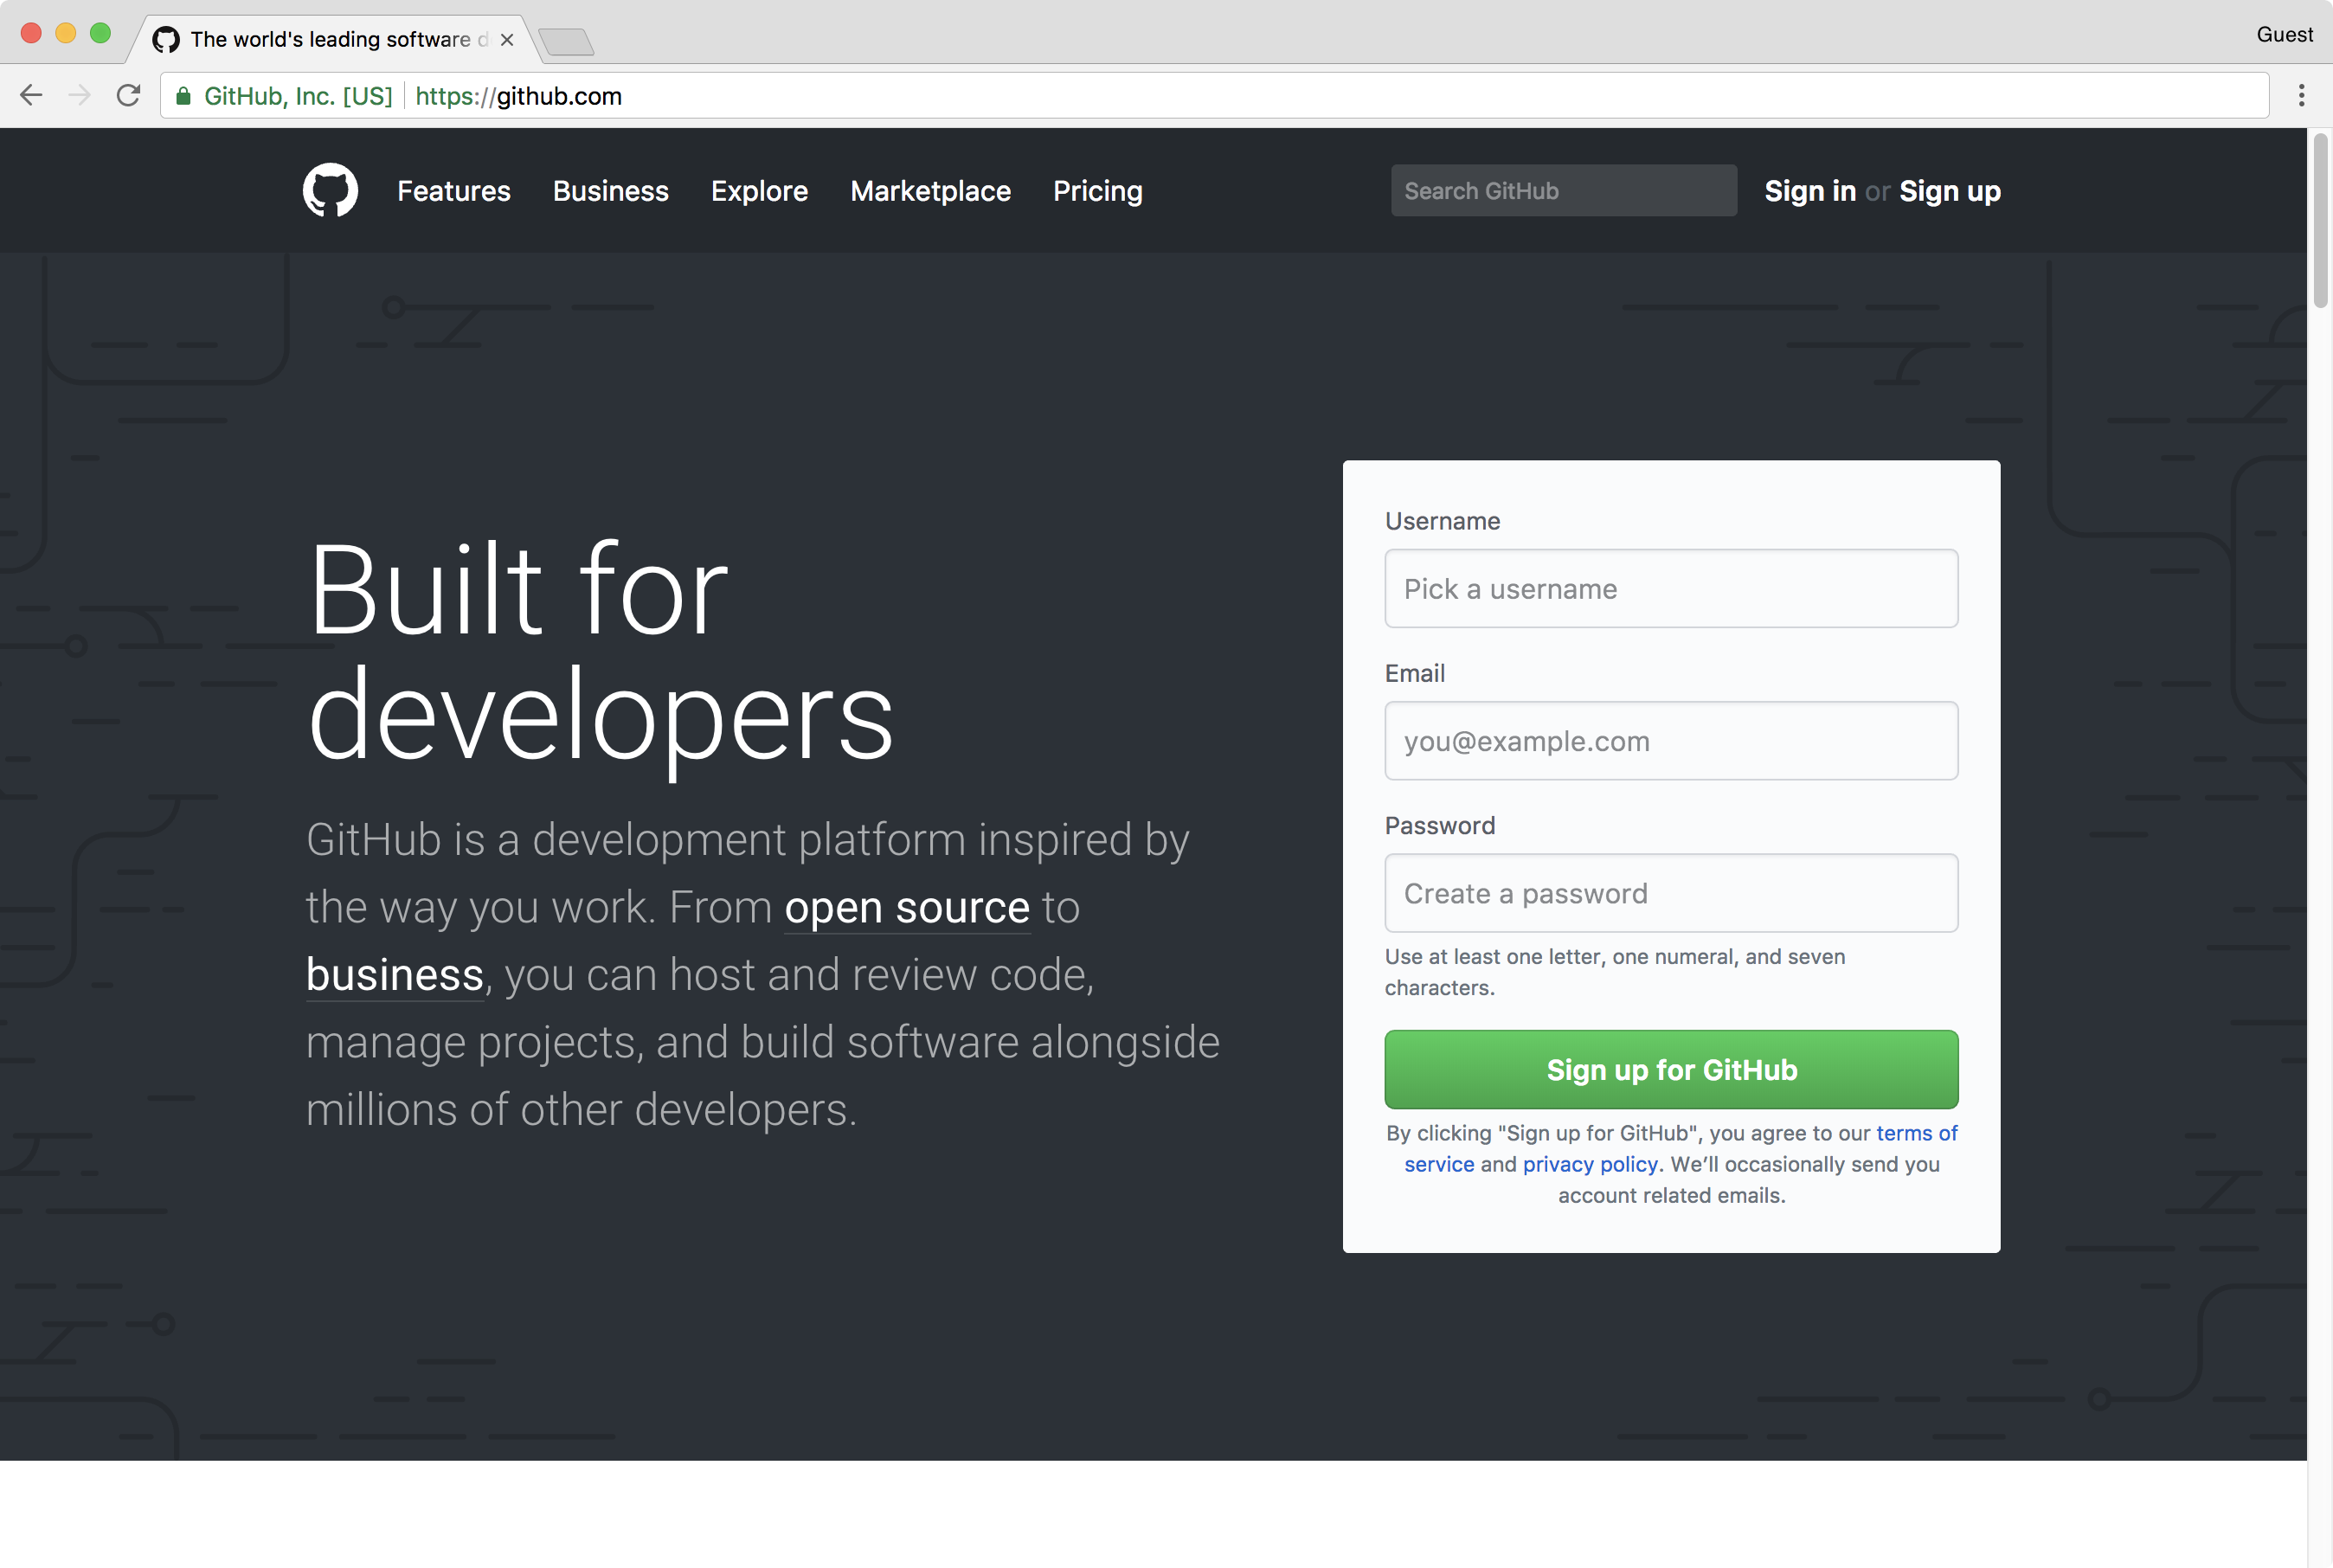
2. To create a GitHub account
-
On the GitHub homepage enter:
- a username
- an email address
- a password
-
Click the gree Sign up for GitHub button.
An example is shown in the screenshot below.

We are asked to confirm the email address that we used to sign. Please confirm the email address.
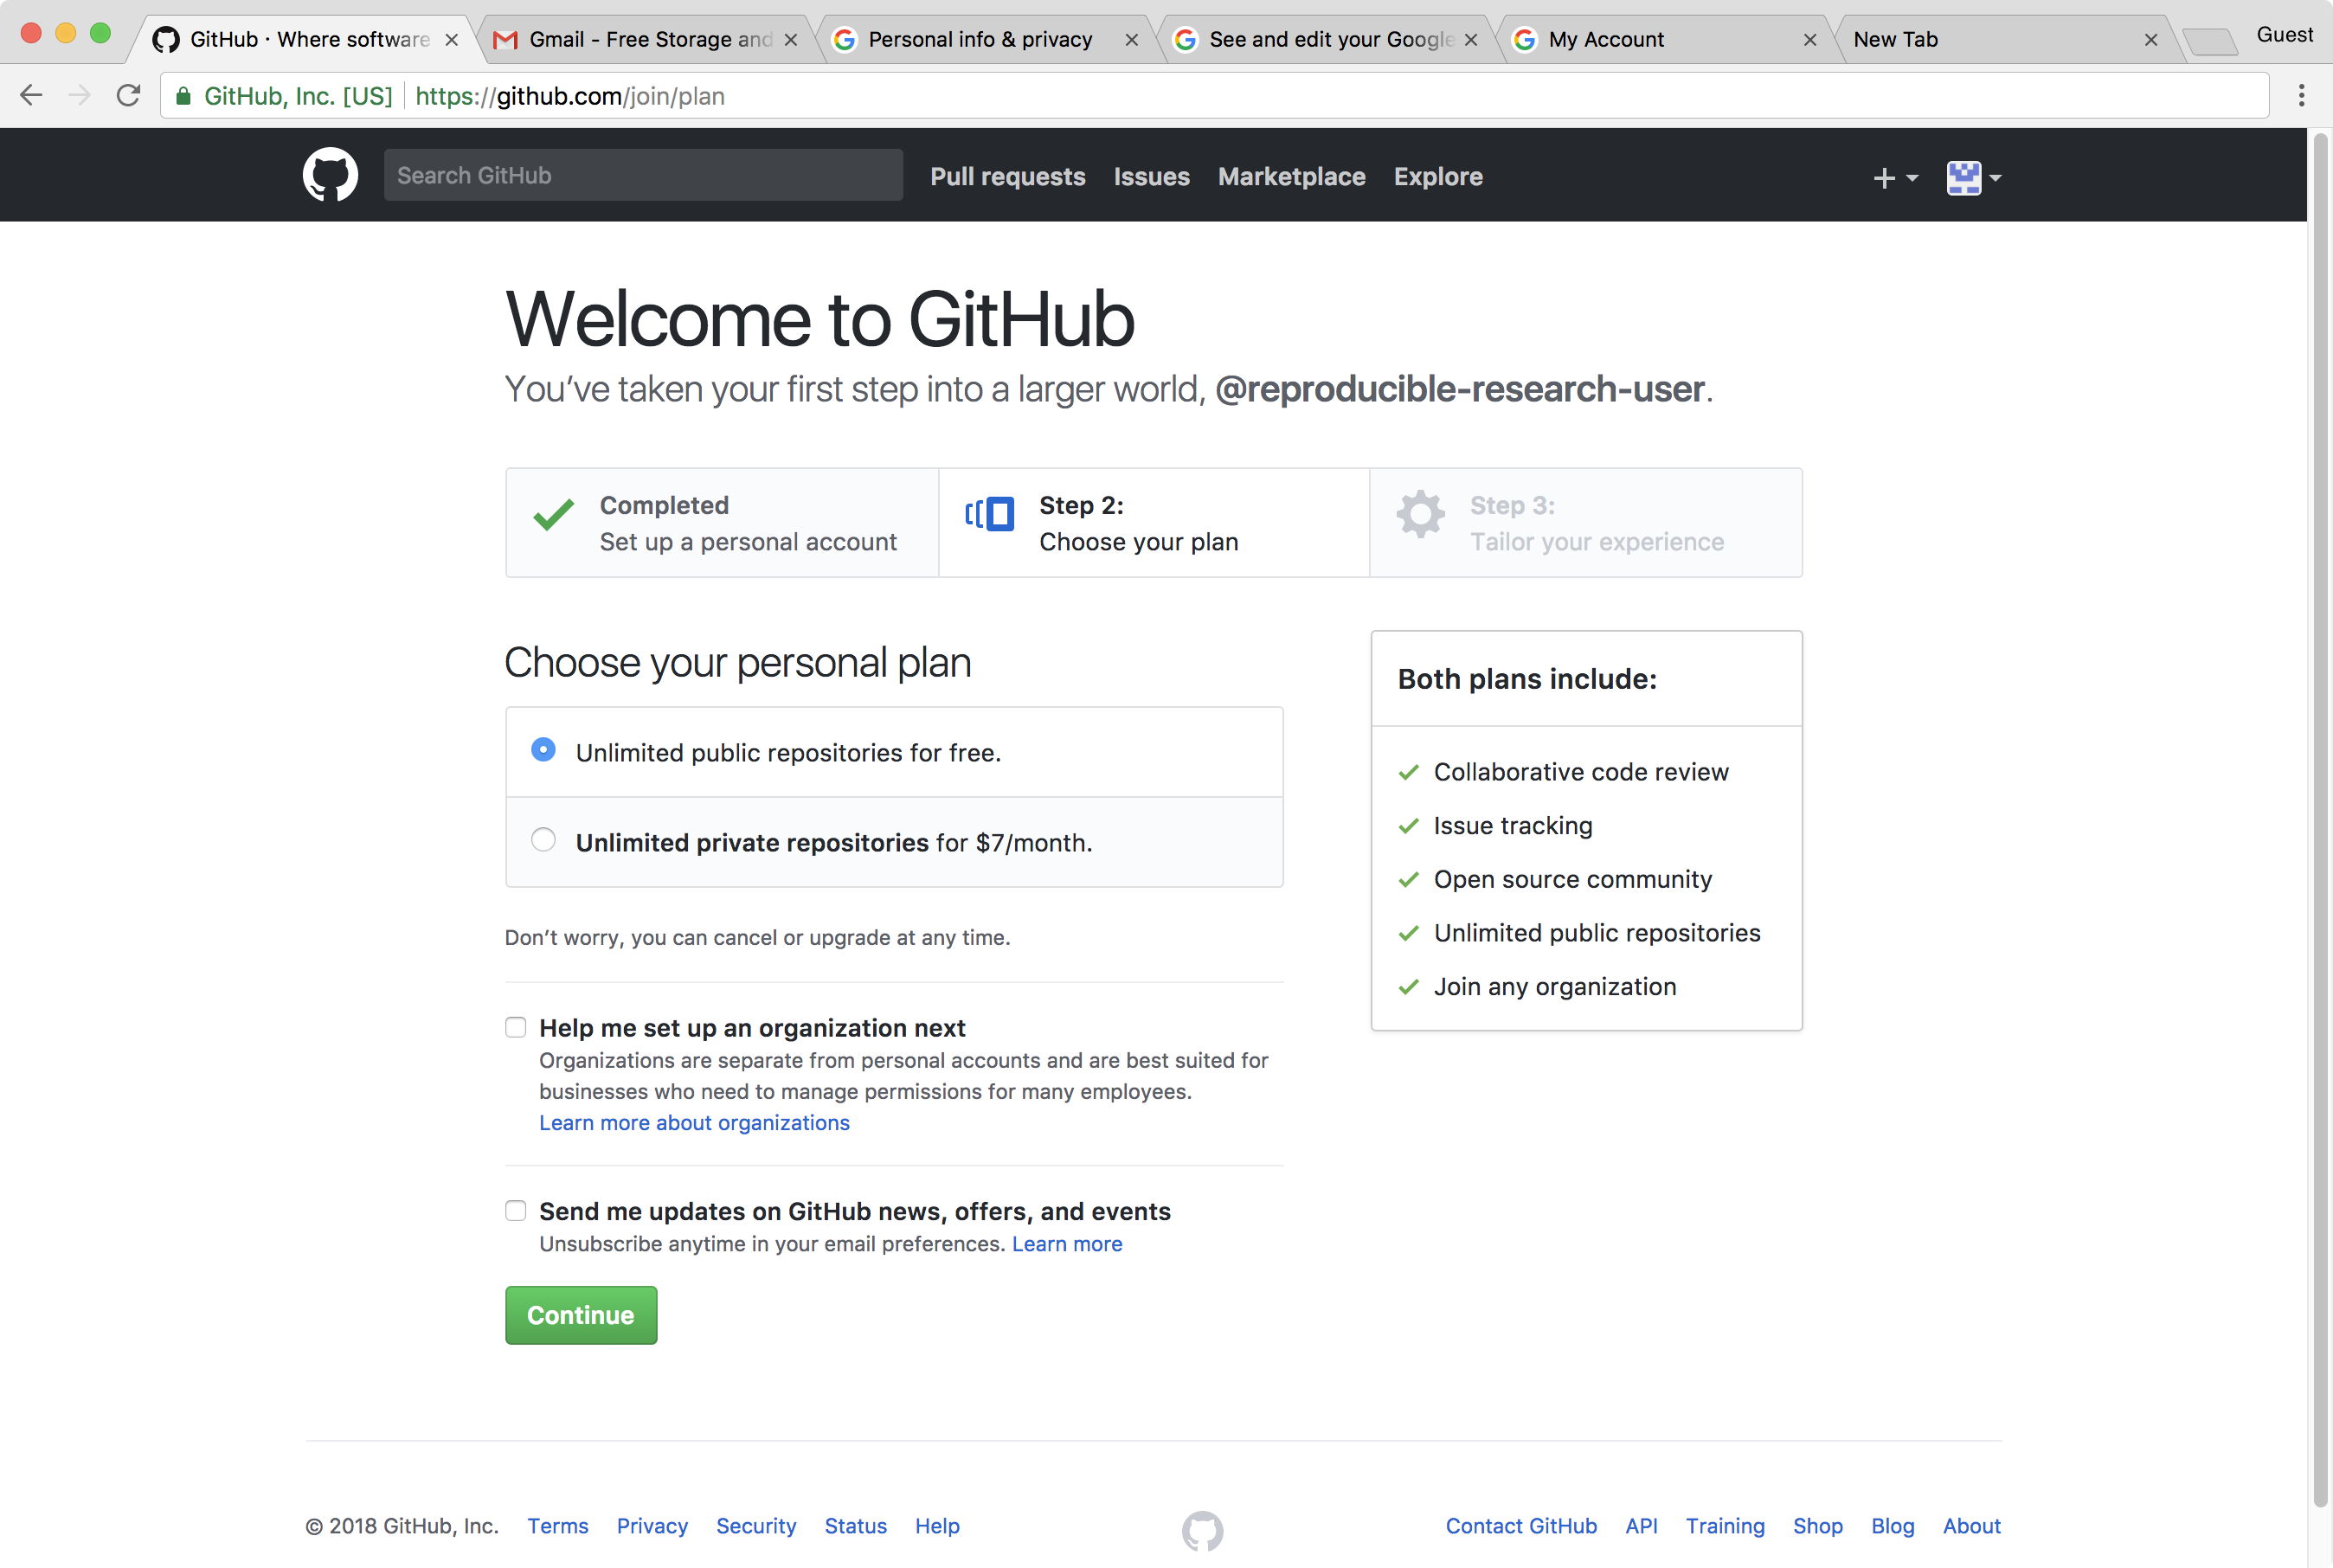
Select a plan
We have to choose a plan that we would like to use. We will use the personal (default) plan.
Click on Continue.
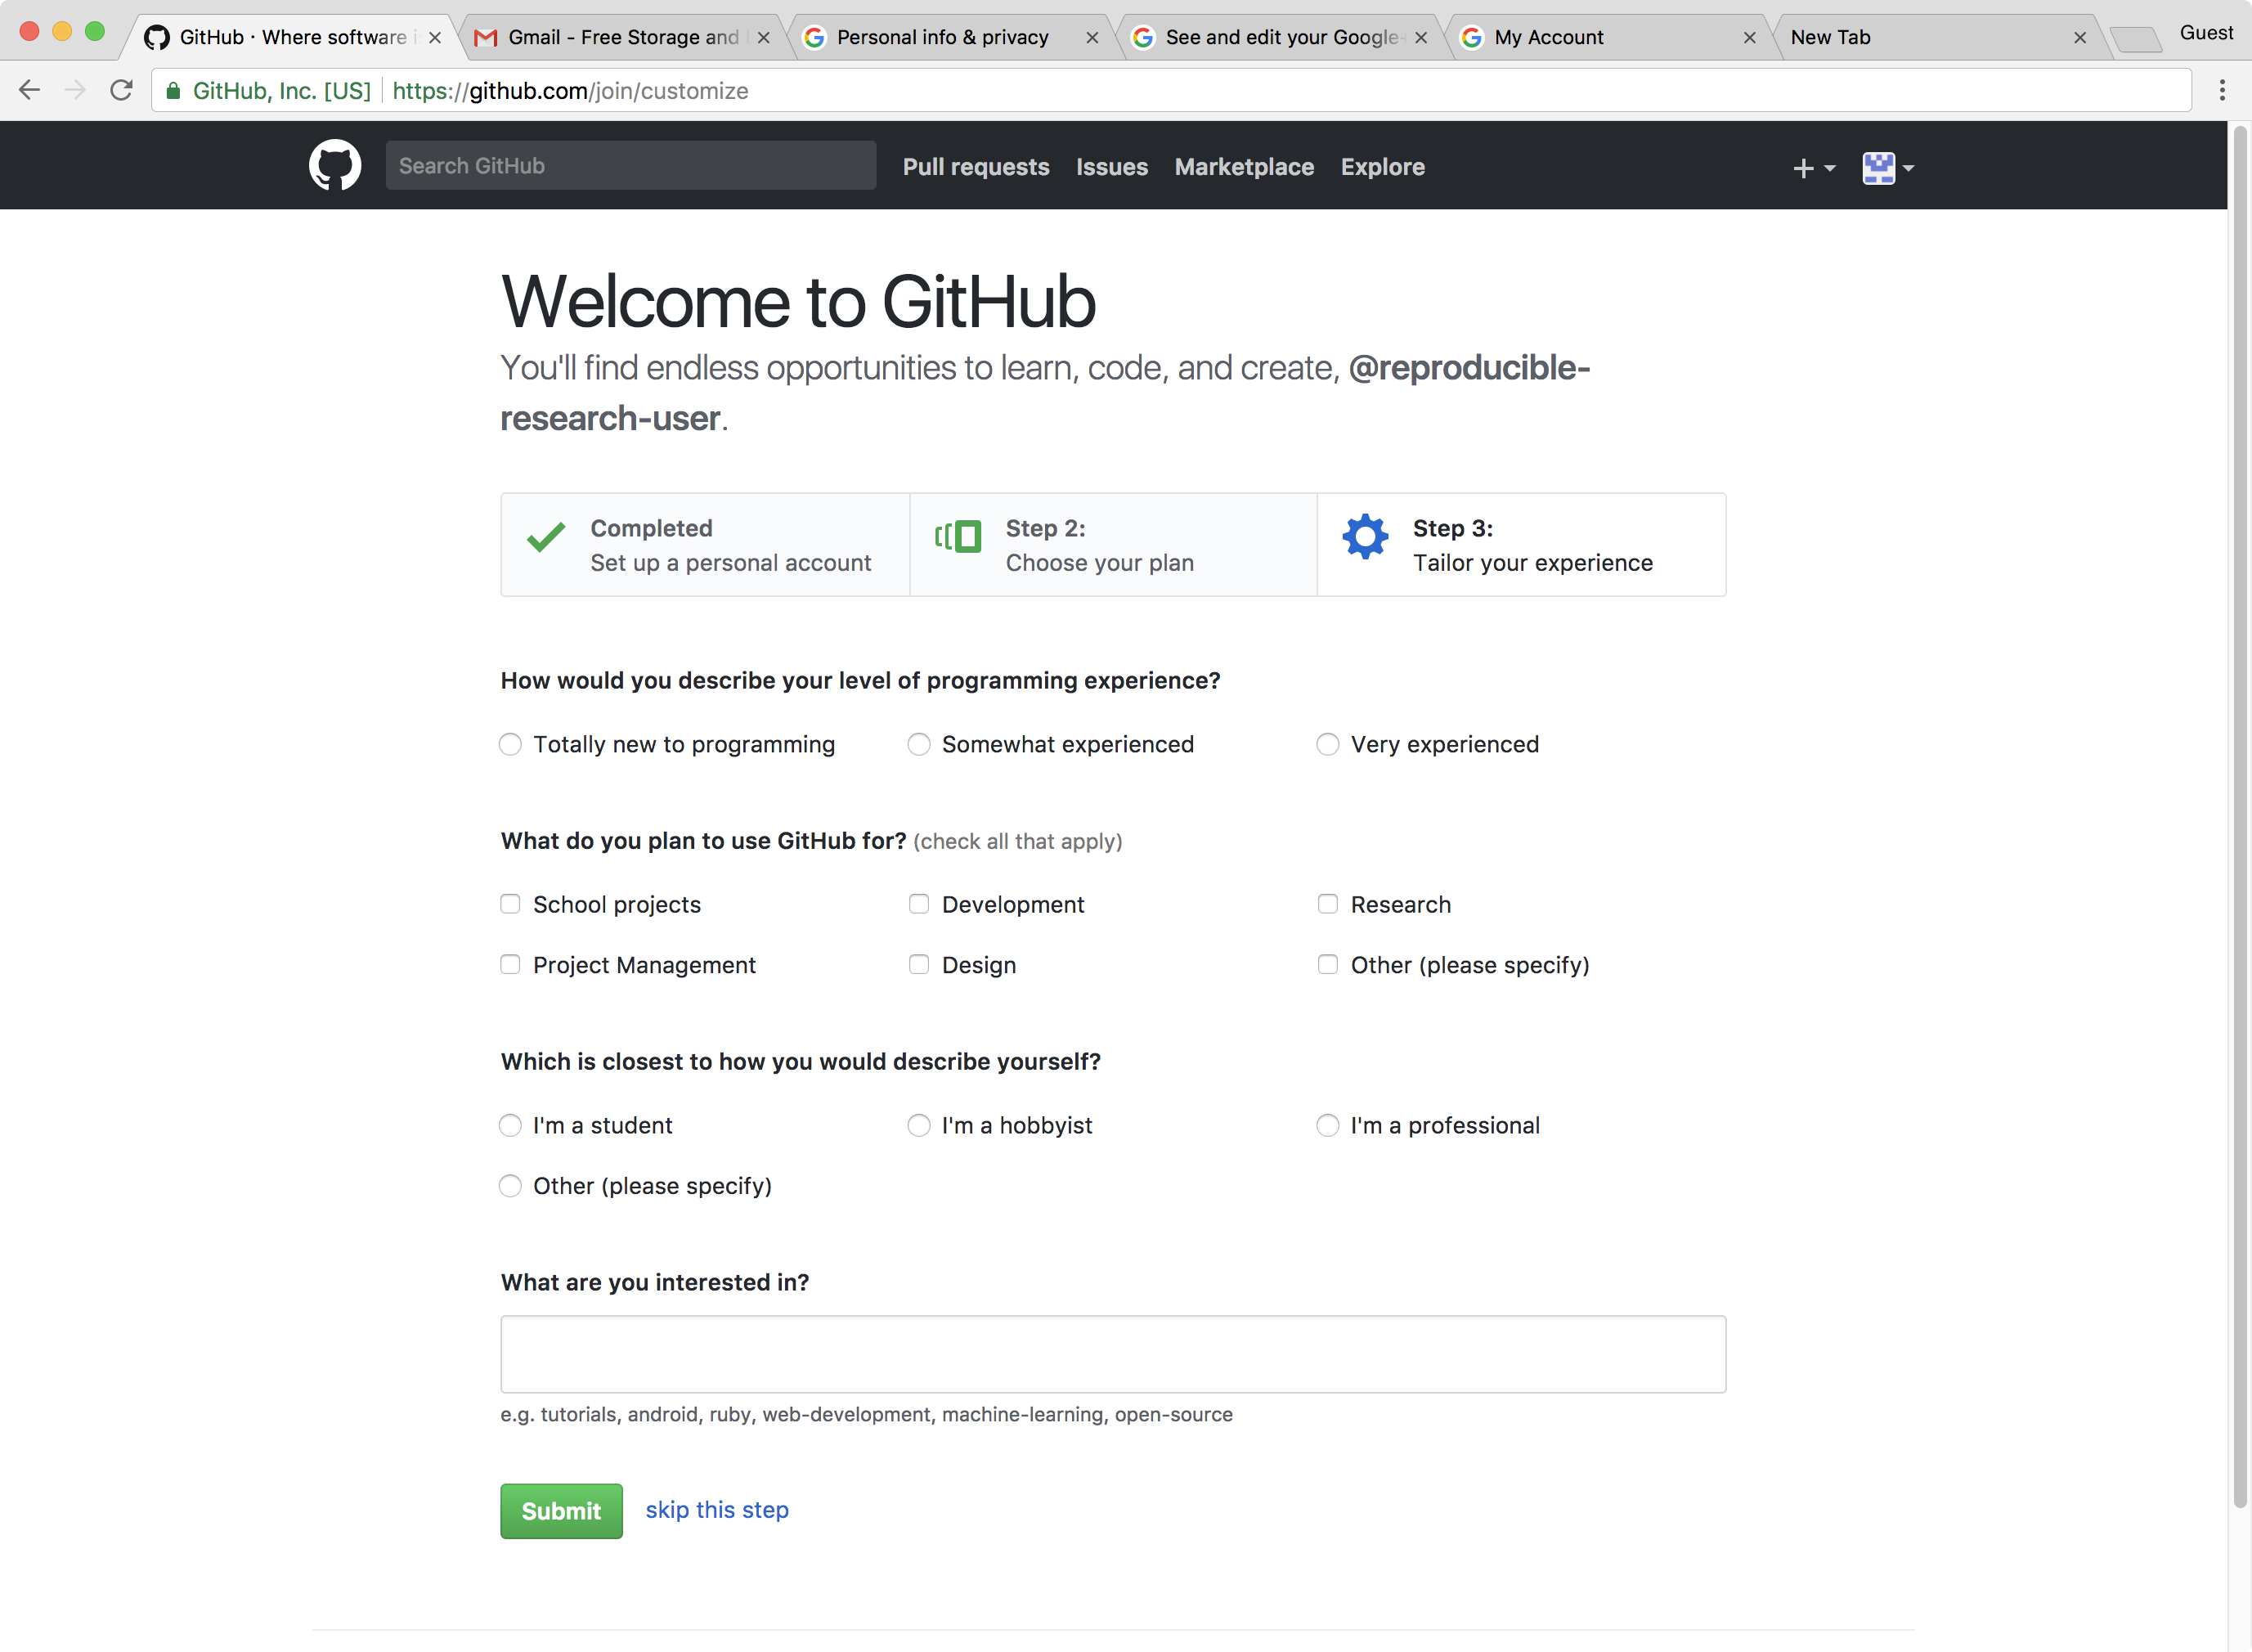
Completing our signup
We can select any options we would like (on none).
Click Submit to complete our Github account setup.
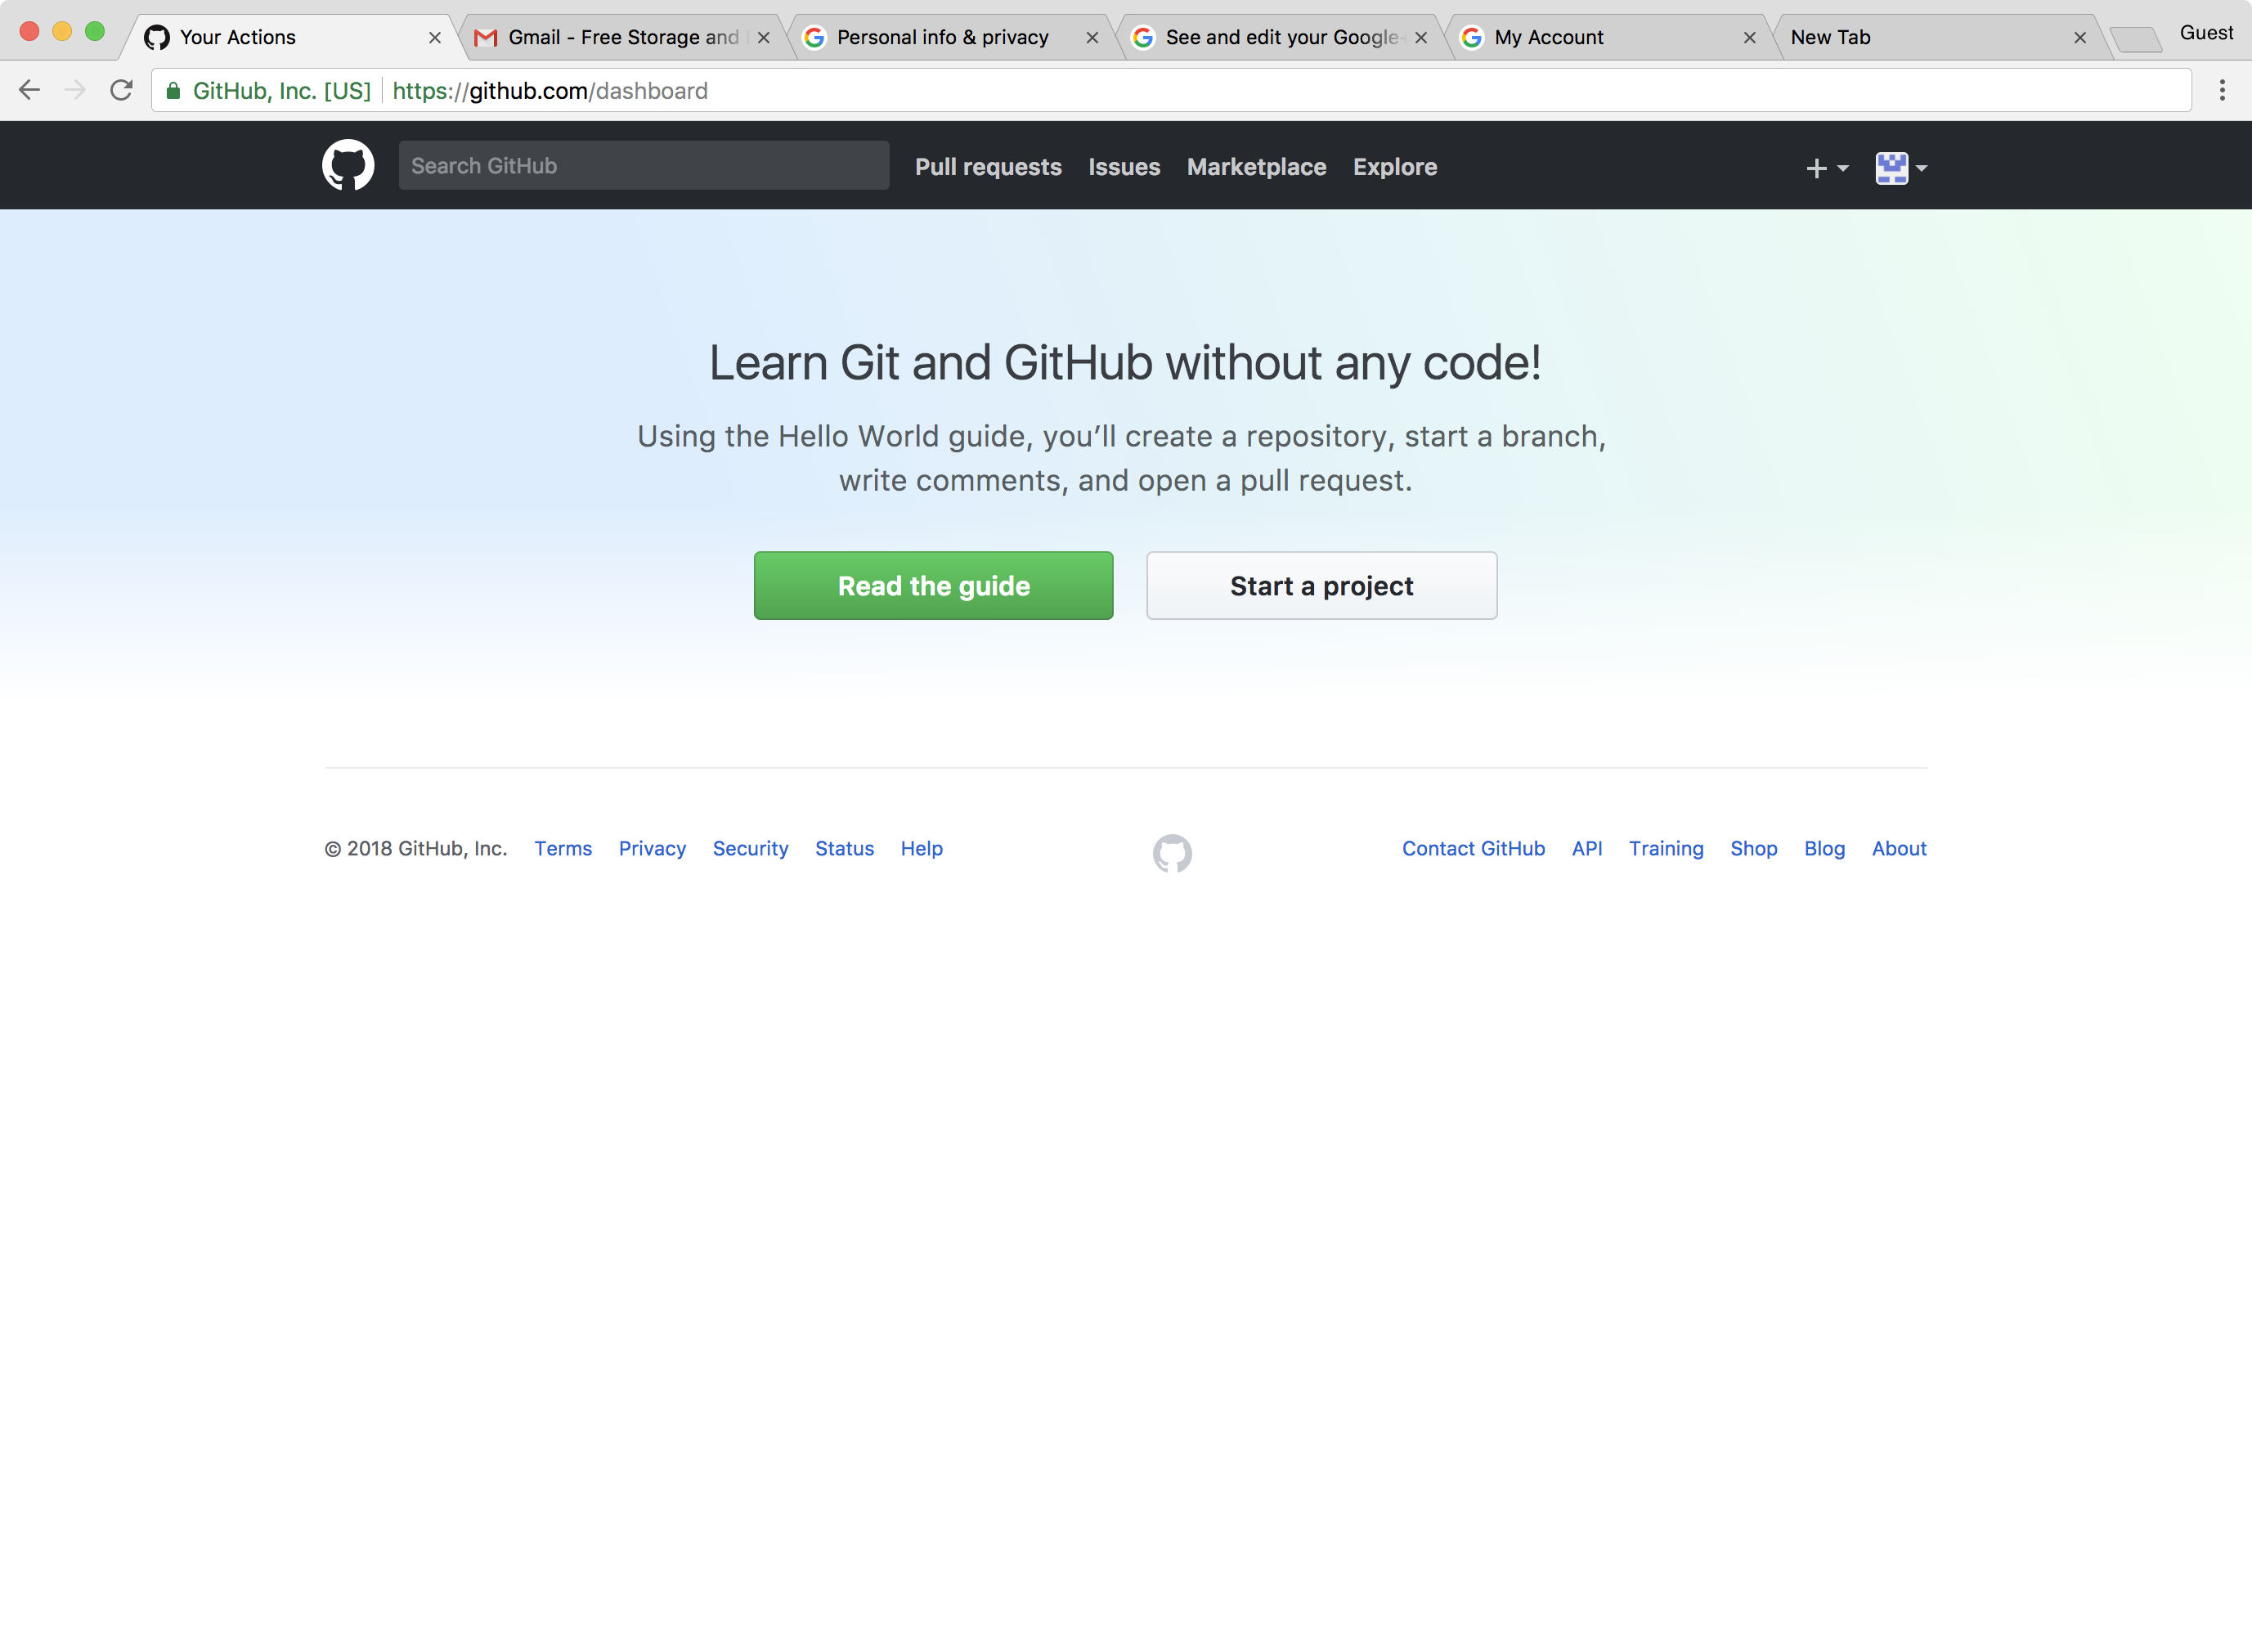
3. Create a new reprository
- Click on Start a project as shown below.
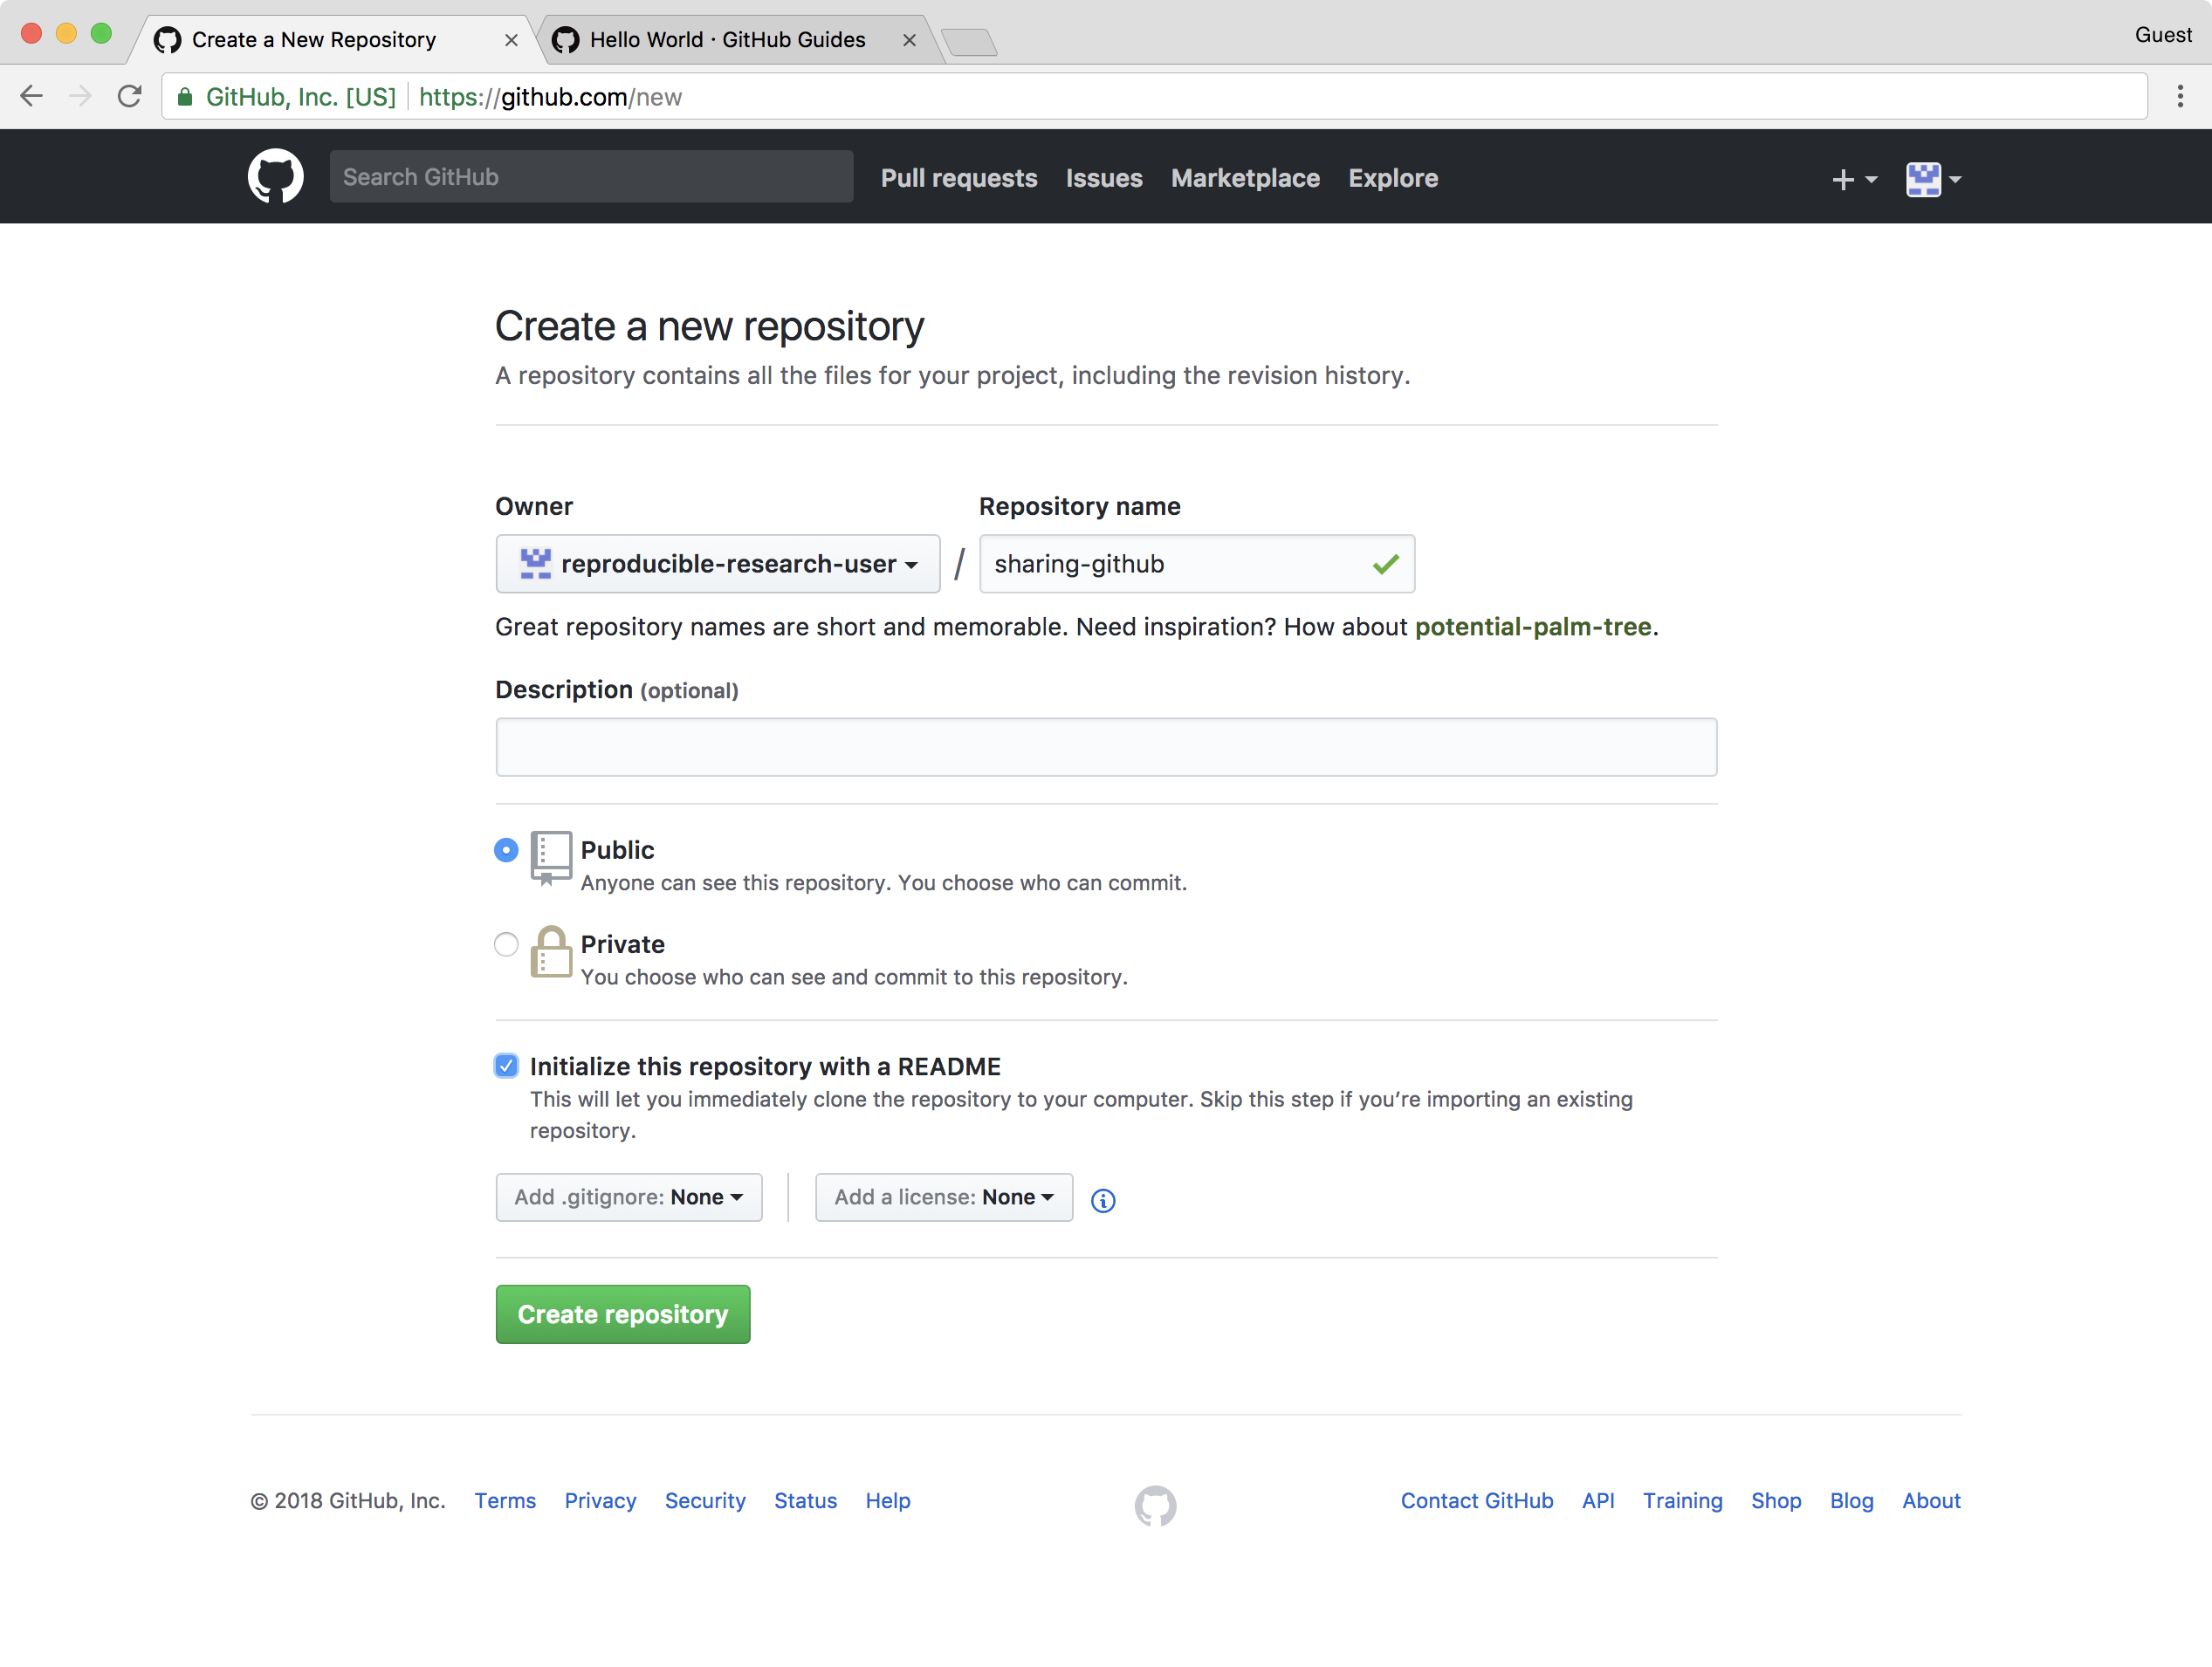
Create a new repository:
- Add a repository name. We choose to name our repository
sharing-github.- Personal GitHub accounts require that projects be public.
- Check the Initialize this repository with a README option.
- Click the green Create repository button.
After creating the new repository, we will be taken to the project homepage (shown below).
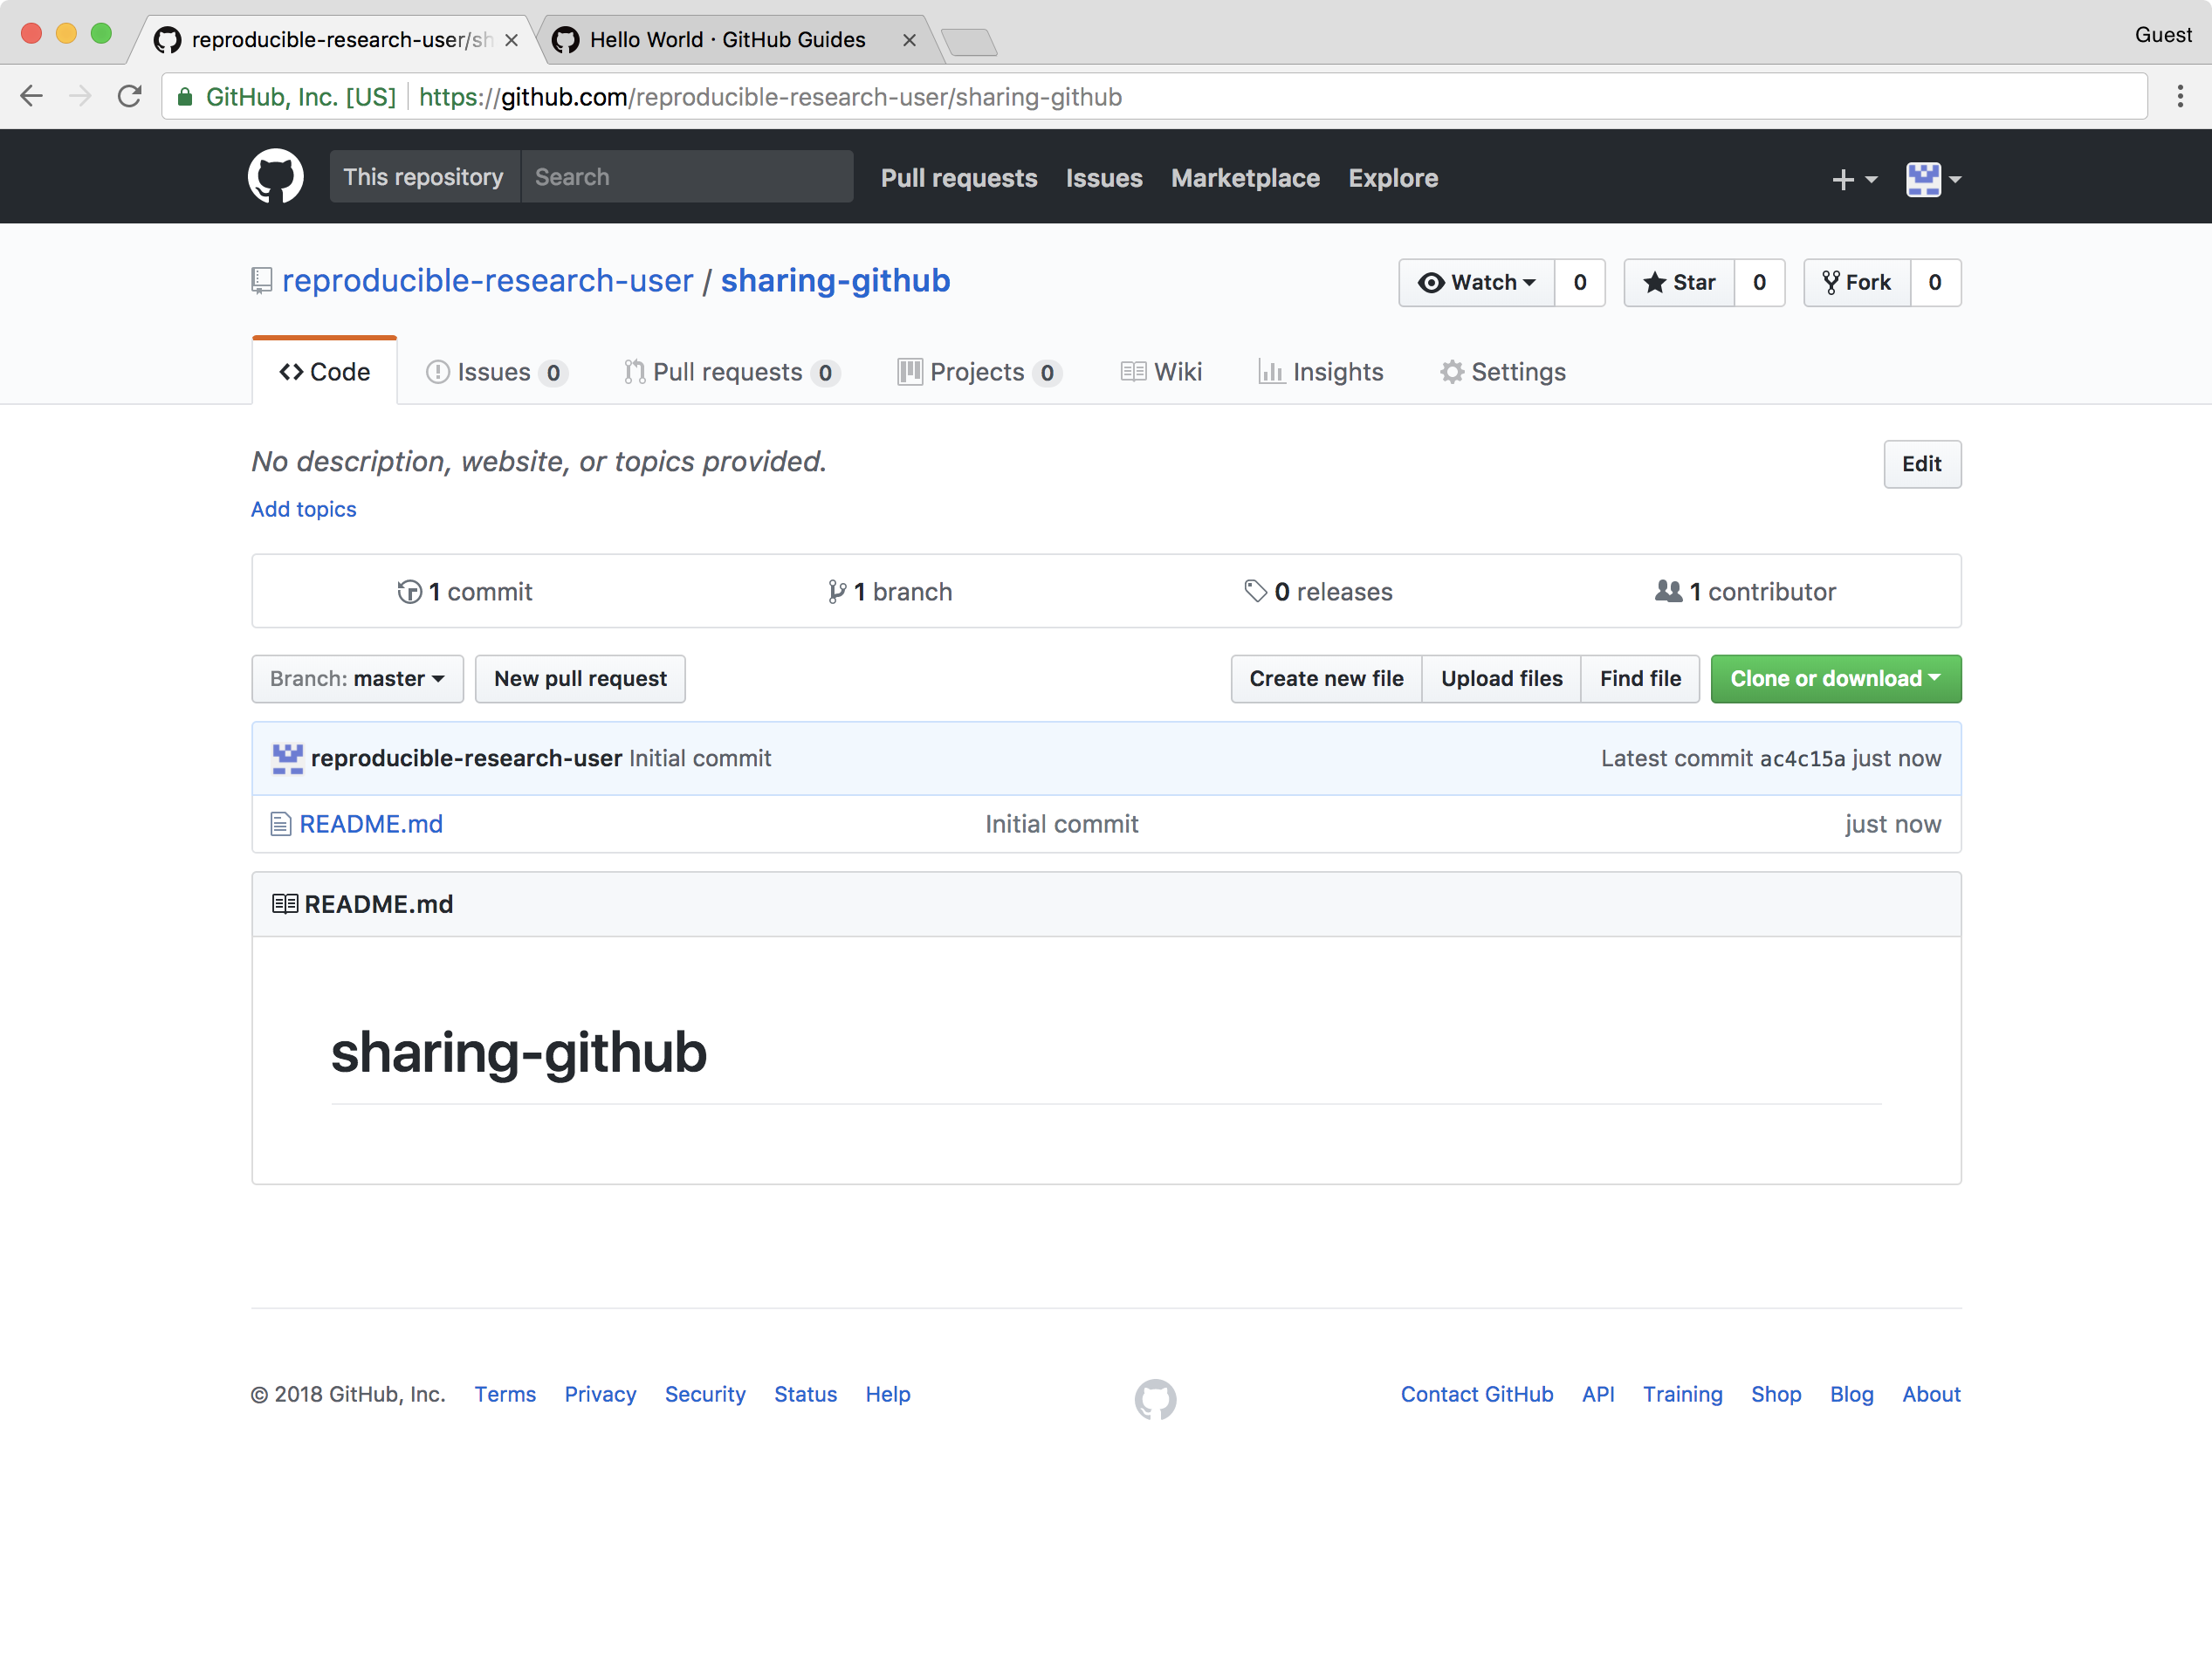
If we click on the GitHub icon at the top of the page, we will go to our GitHub homepage.
Our GitHub homepage will now show the new repository under Your repositories (as shown below).
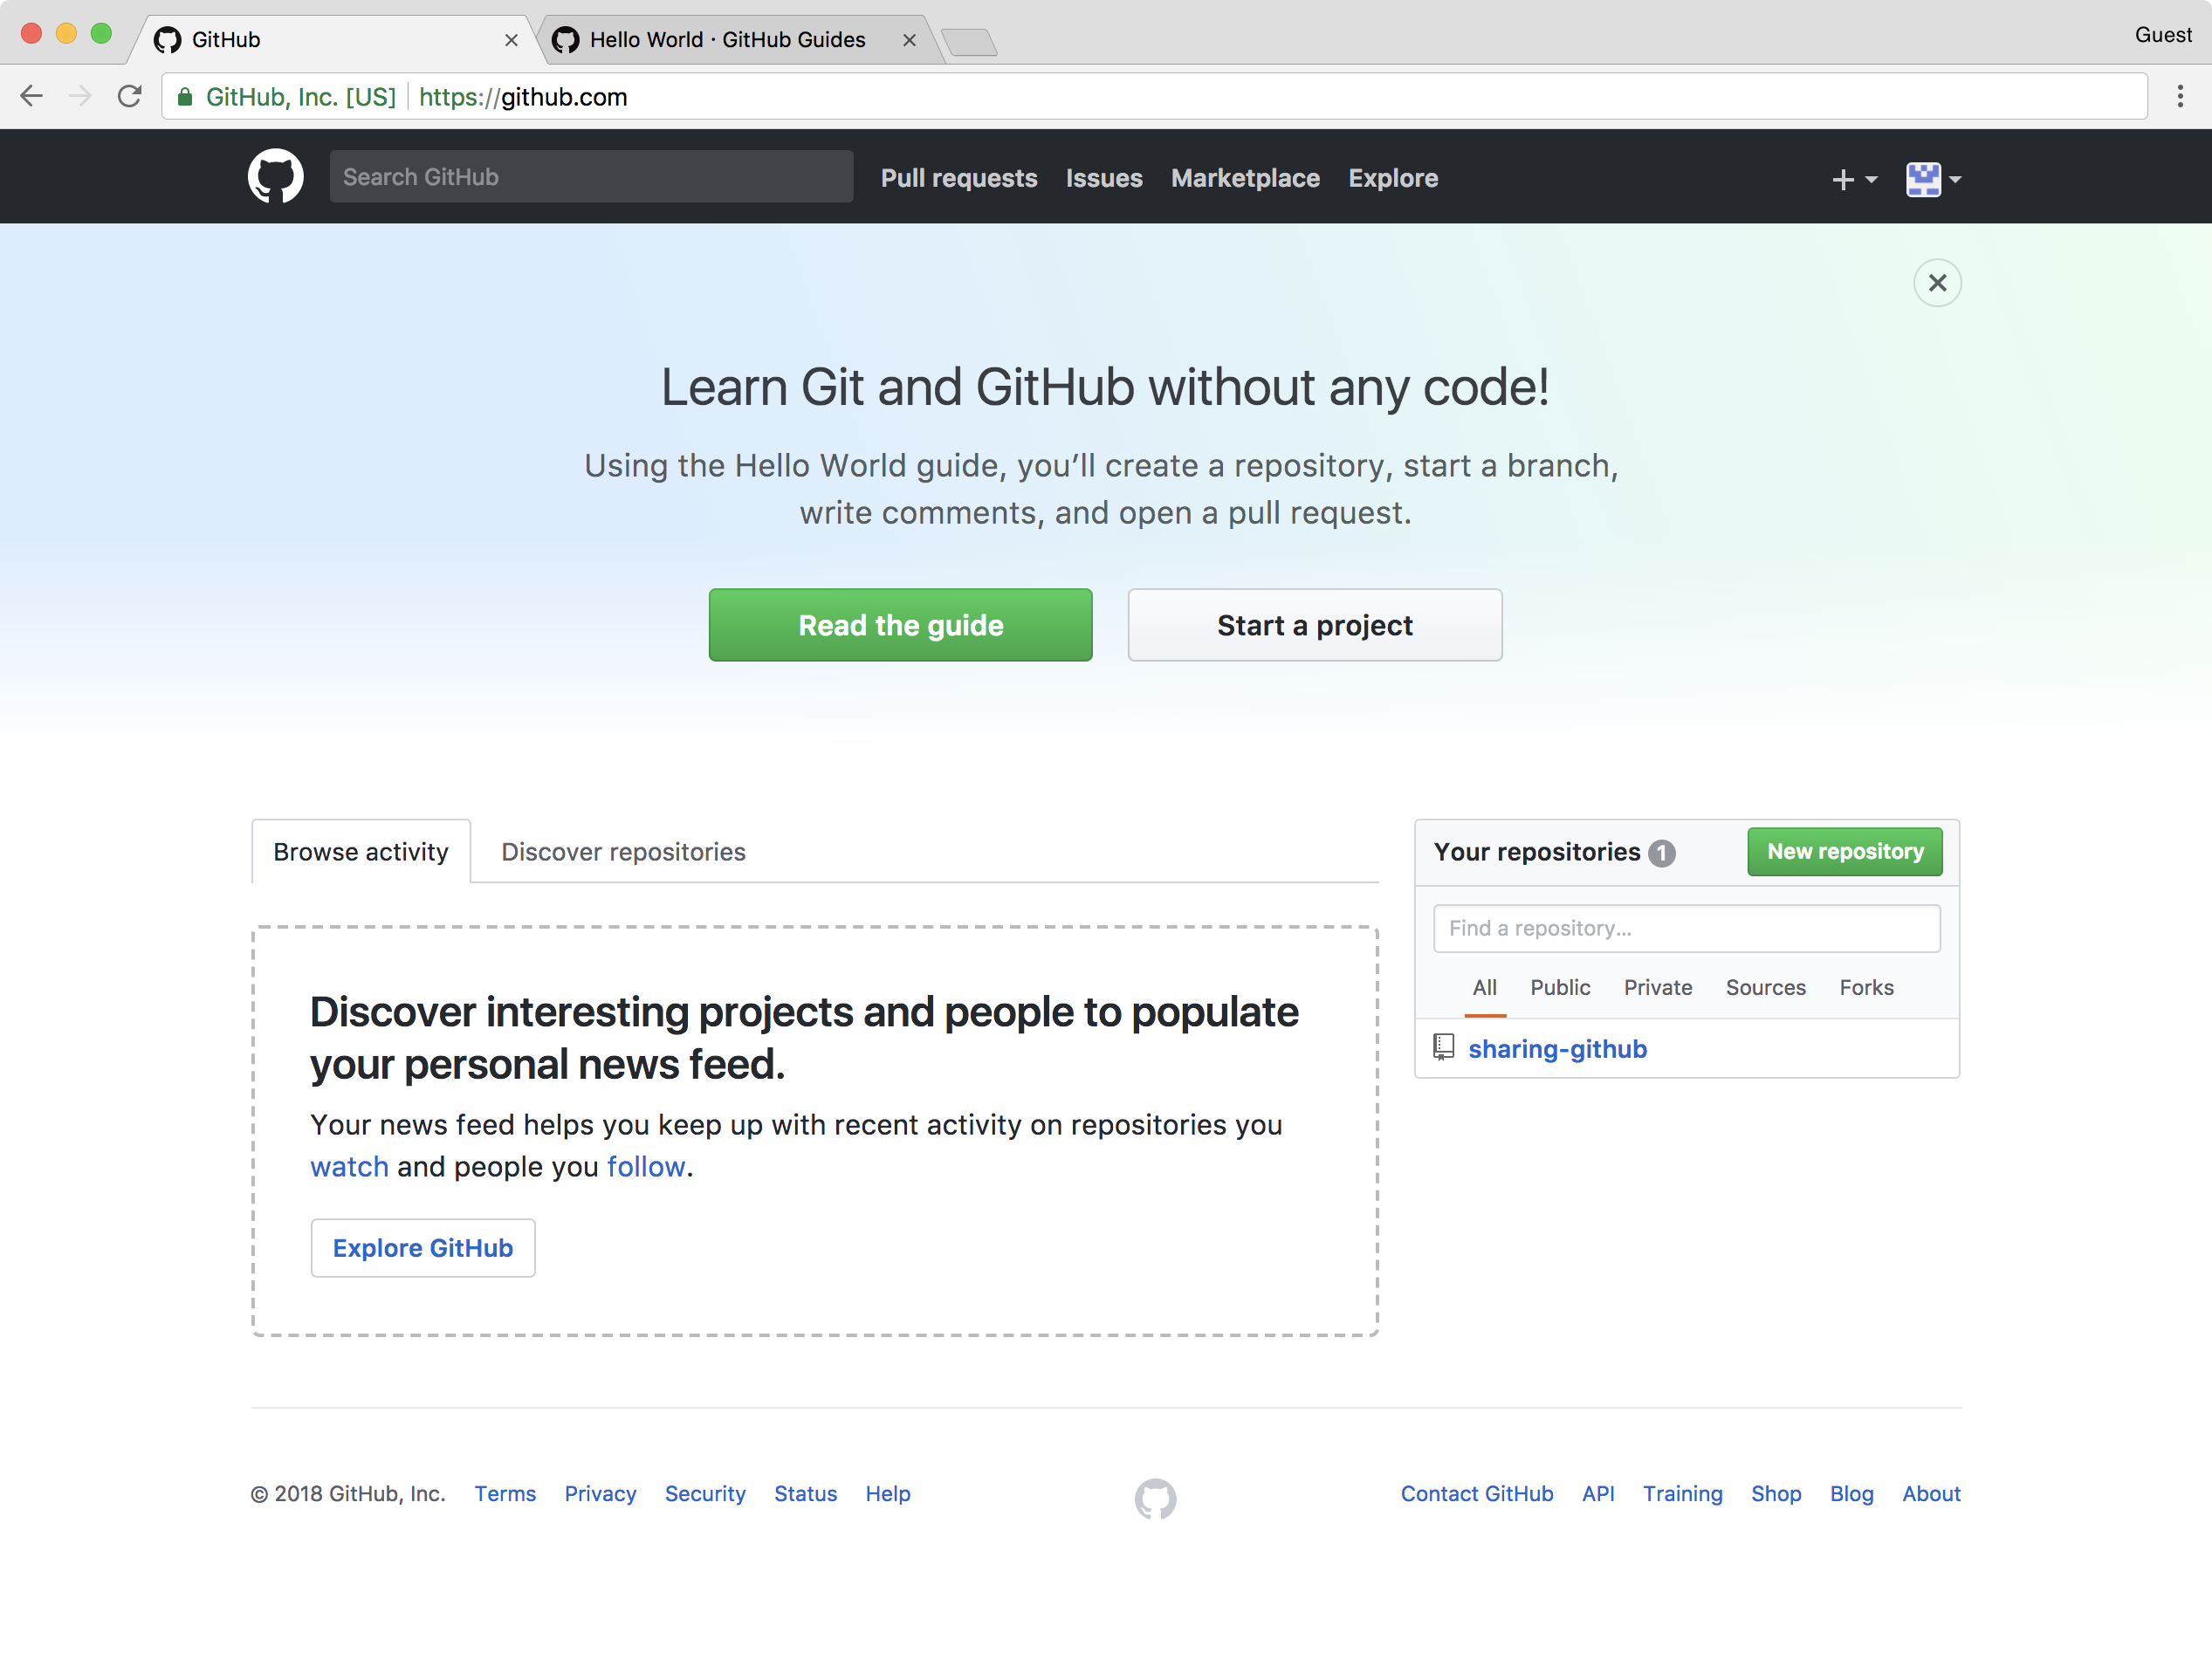
Congratulations!! We now have a GitHub account and we have created our first repository.
4. Uploading an example file (notebook) to the repository
We will use GitHub’s web interface to upload our files to our new repository.
Before we upload one of our existing files, we will first create a new notebook with a “print(‘hello world’)” Python statement in a single cell.
4.1 Create a new sample notebook
- At the Jupyter dashboard, click on New button and select a
Python 3notebook.In the first cell of the notebok, enter the following
Pythonstatement:print('hello world')- Run the cell to confim that what you entered is free of syntax and other errors.
- Save the notebook as “hello_world_binder.ipynb”
To add our new sample notebook to our GitHub repository, we will return to our repository’s homepage at https://github.com.
4.2 Upload the new sample notebook to our GitHub repository
- Go to GitHub in our browser. We can click the link to the left.
- Click on the
sharing-githubrepository- Click on the Upload file button
- Drag and drop the sample notebook or click the choose your files link to select the sample notebook.
- We will see any files that we have uploaded at the bottom of the drag and drop area.
- Add a message describing the change we are about to make.
- Type “Adds sample notebook” in the subject field.
- We can either add the same message below in the extended description or leave it blank.
- Click on Commit changes button to complete the uplaod.
After commiting the change we should see that there are now two files in the repository: 1) the README and 2) the new sample notebook (as seen in the screenshot below).
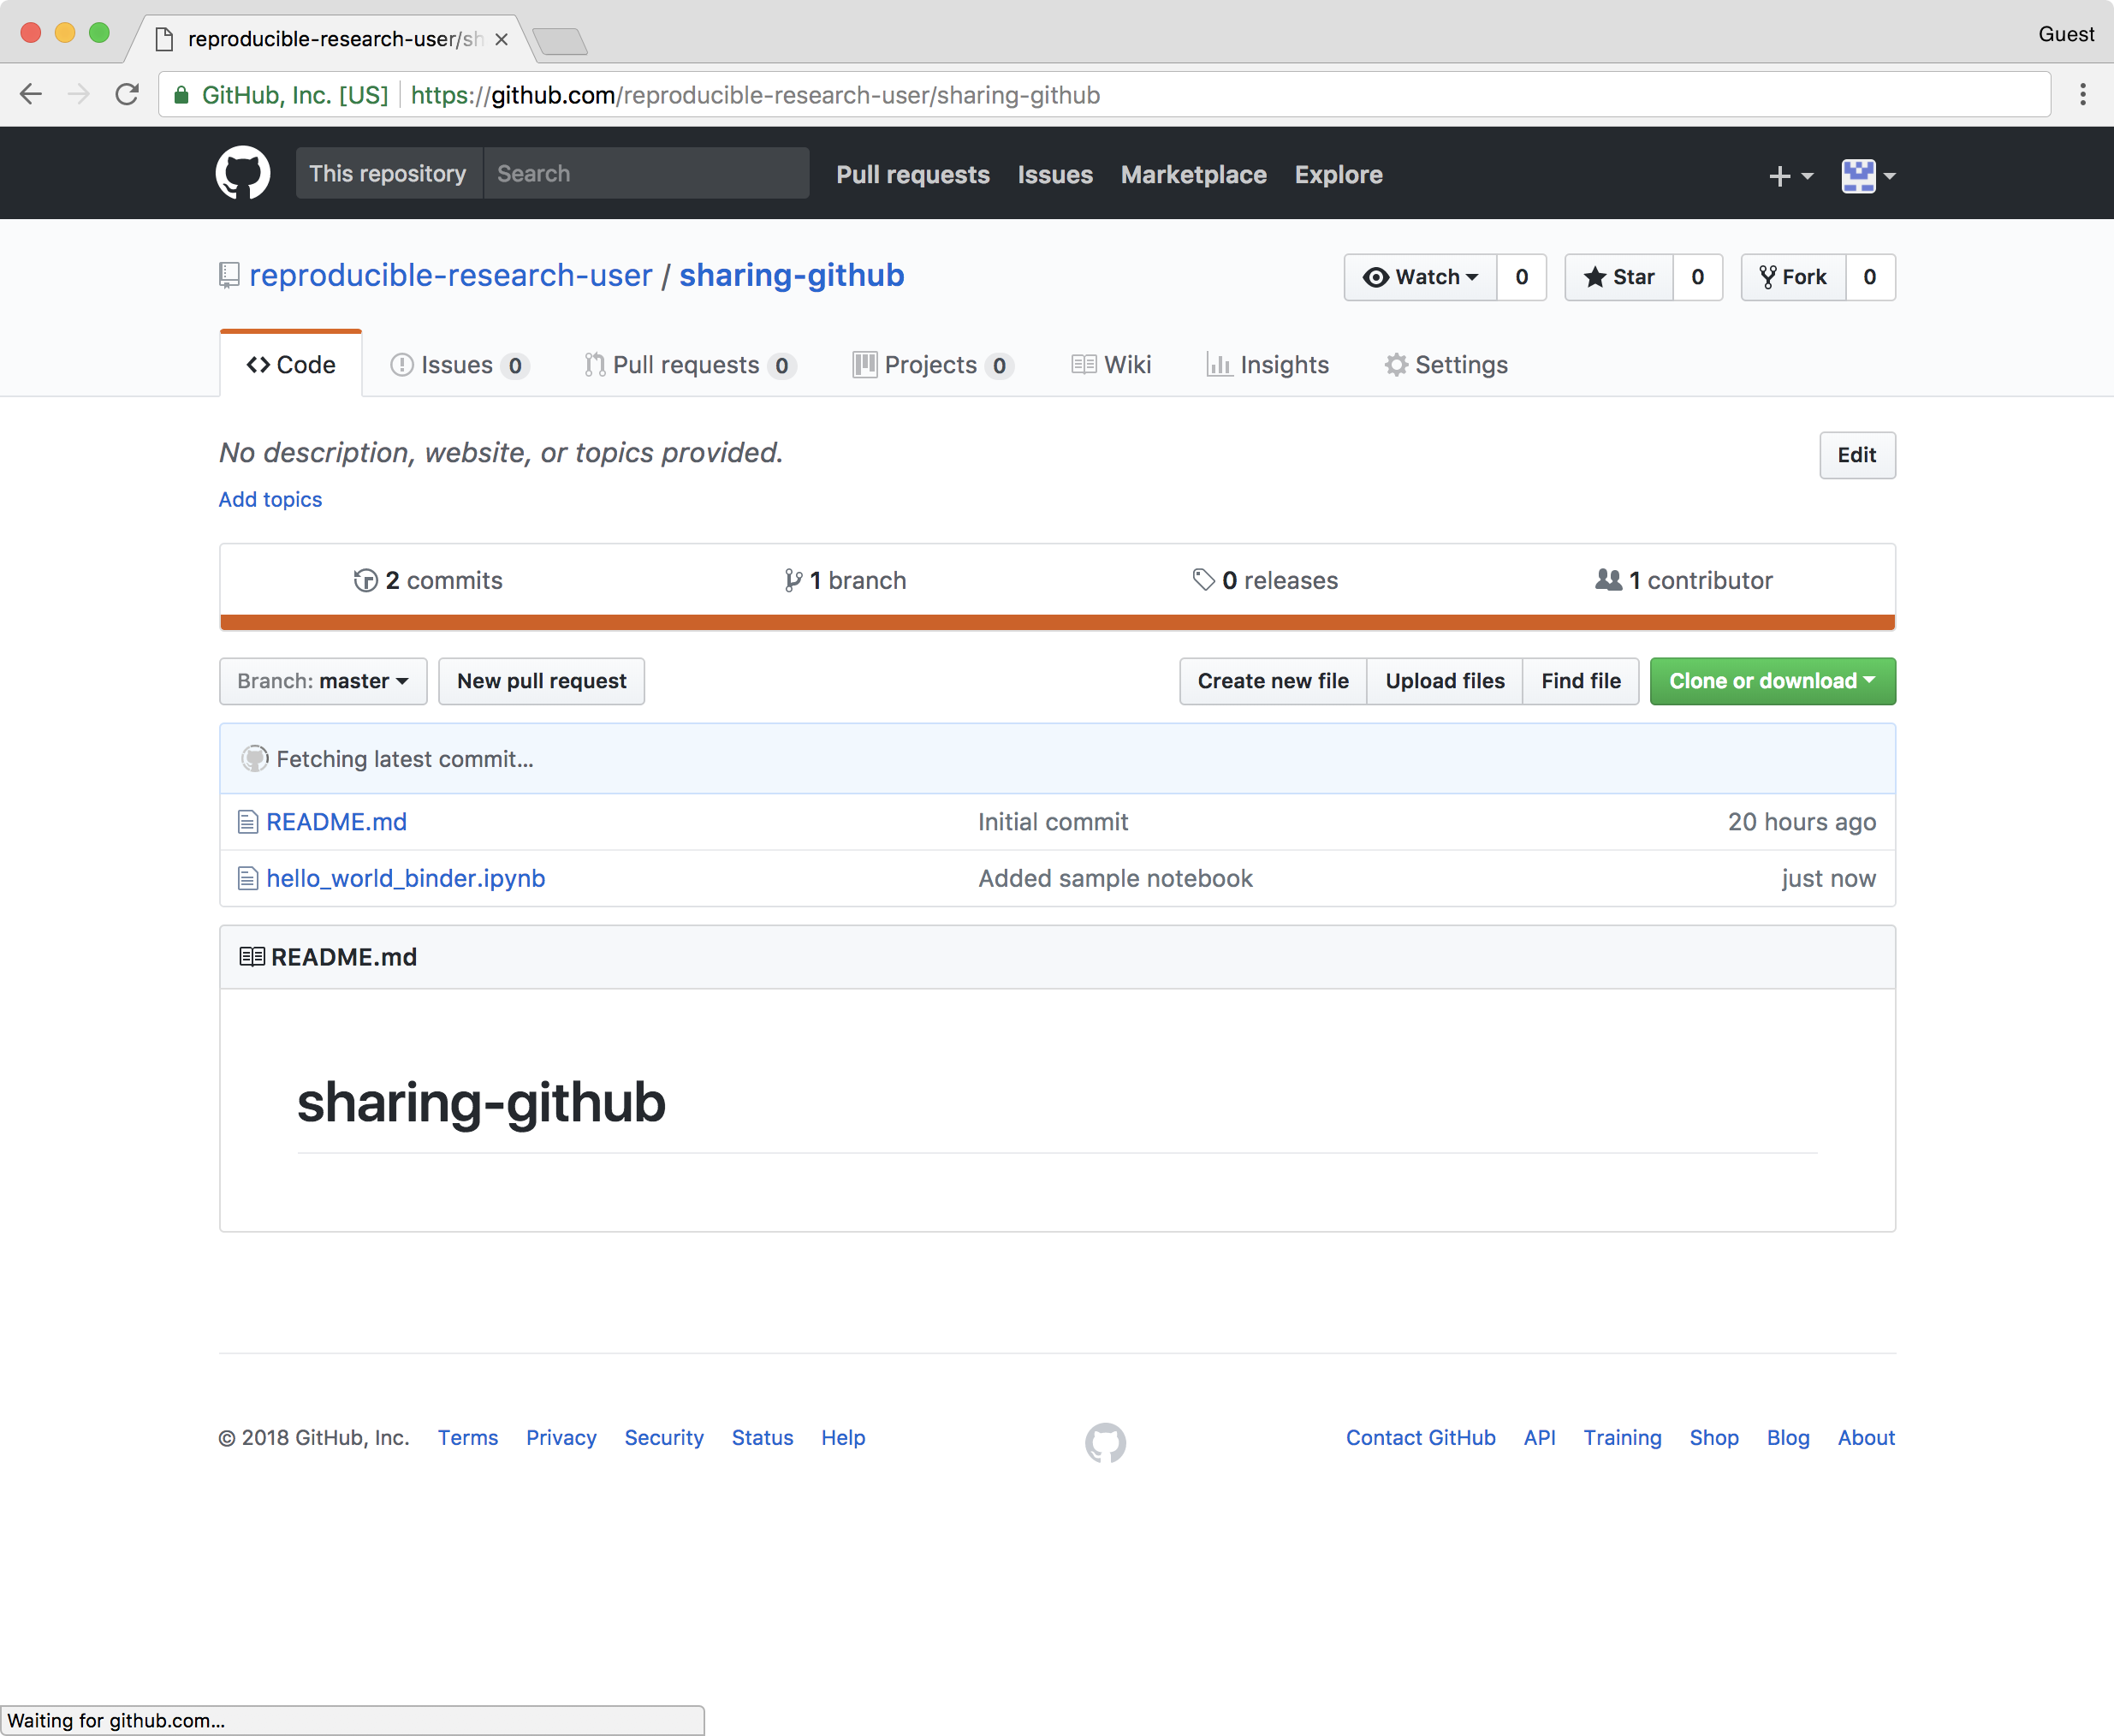
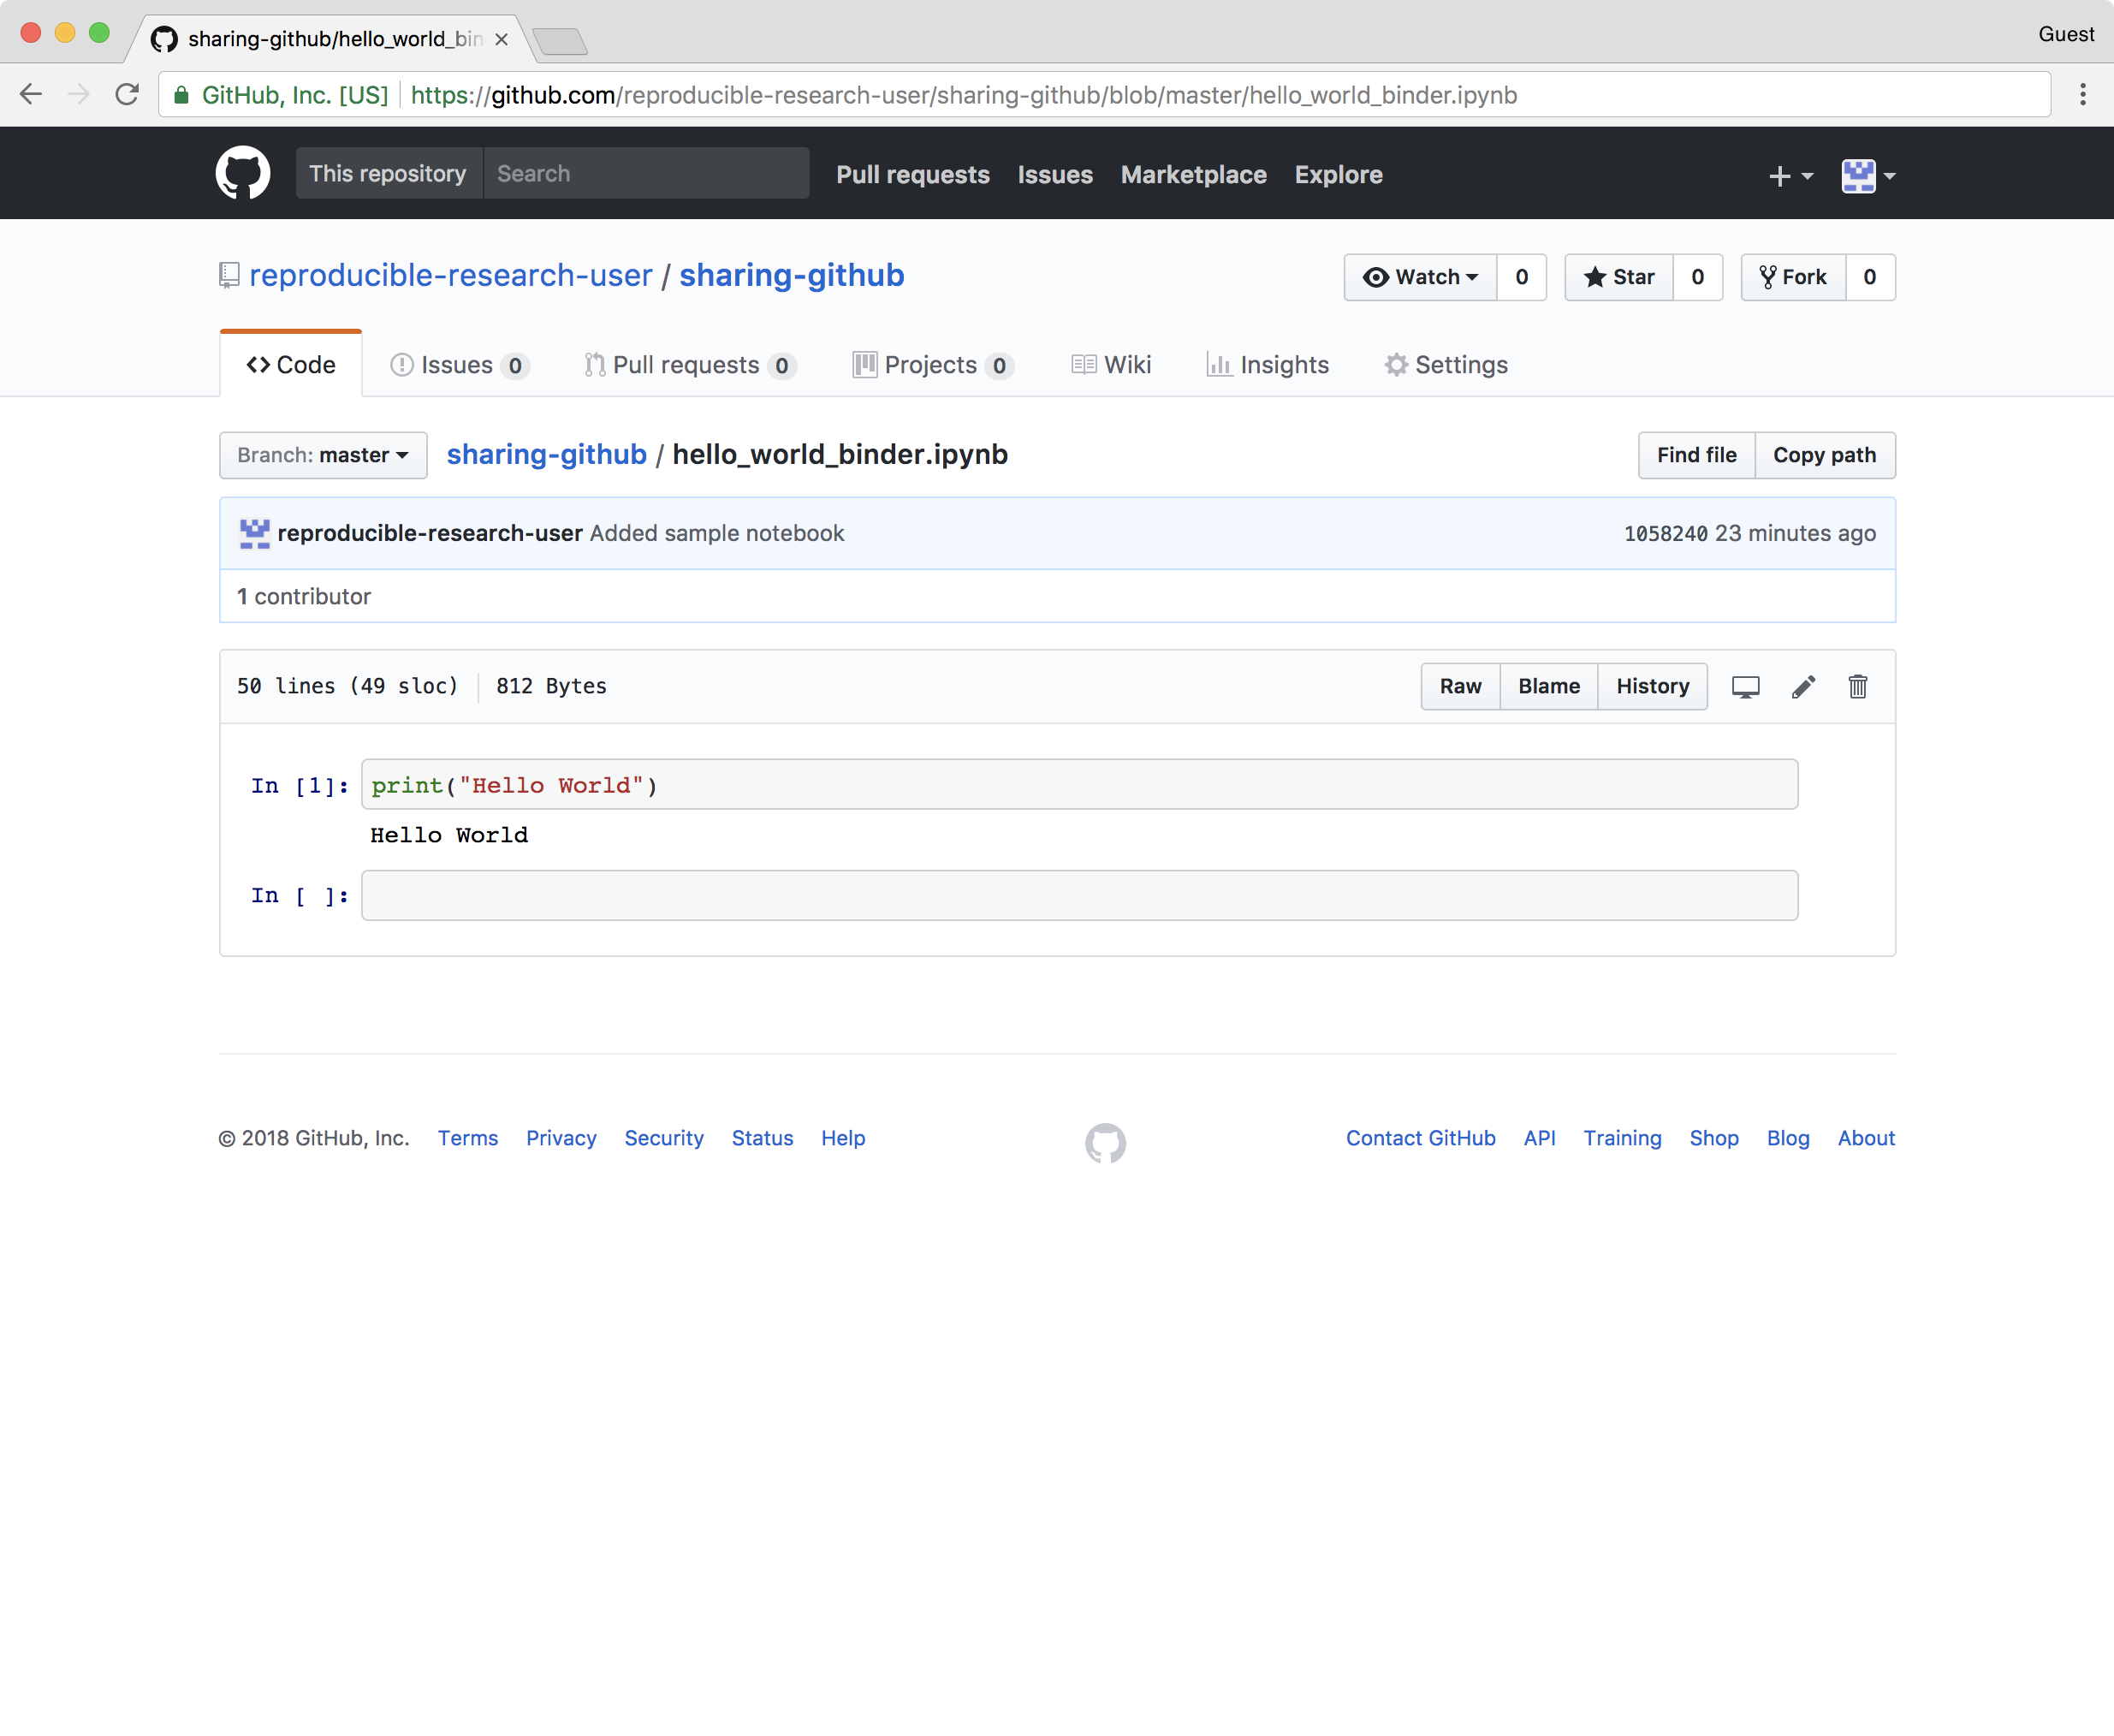
We can actually preview the notebook by clicking on it (shown below). Note that GitHub will automatically render your notebook so that it’s displayed in the browser. This can be a great way to quickly show other people what you’ve been up to!
5. Upload our previous working notebook to the repository
In anticipation of our next lesson on sharing notebooks in a dynamic rather than static way, let’s upload the notebook that we have bene working on. To do this we will repeat many of the steps above.
Upload our file:
- Return to
sharing-githubrepository on GitHub- Click on the Upload file button
- Drag and drop the data analysis notebook completed in the previous lesson or click the choose your files link to select the notebook.
- We will see any files that we have uploaded at the bottom of the drag and drop area.
- Add a message describing the change we are about to make.
- Typing “Added data analysis notebook” in the subject field.
- We can either add the same message below in the extended description or leave it blank.
- Click on Commit changes button to complete the uplaod.
After commiting the change we should see that there are now three files in the repository: 1) the README and 2) the sample notebook and 3) our new data analysis notebook.
Where to find more about GitHub
To learn more about GitHub you can review one or more of these additional (external) resouces:
- GitHub Guide - Hello World
- All the GitHub guides
- Hubspot
gitand GitHub tutorial- Plurlsight’s GitHub beginner’s guide
- Code School’s GitHub tutorial
More about Git version control
If you would like to learn about source code version control using the
gitsoftware, theGitin GitHub, please see these resources:
- Try this 15 minute interactive
gittutorial- Try some additioanl
gitexercises here
Key Points
GitHub is a development platform where we “can host and review code, manage projects, and build software.”
A GitHub repository can be created, populated, and shared without command line or other special-purpose version control tools.
Jupyter Notebooks shared through GitHub are rendered, but are static. GitHub does not run the notebook(s) in a repository.